When a photographer captures a scene, the image is just the beginning of a visual conversation. The true power of a photograph is revealed only when the image is refined, guided, and enhanced to communicate a specific mood, story, or artistic intention. In the realm of art and design, this refinement is called image retouching. Mastering image retouching techniques allows designers to transform ordinary photographs into compelling compositions that resonate with viewers, elevate brand narratives, and push the boundaries of visual storytelling.
Why Image Retouching Matters in Artistic Design
Image retouching is more than a technical skill; it is an expressive tool that aligns visual elements with the creative vision. In artistic design, every pixel can influence perception—whether the goal is to evoke nostalgia, create a surreal landscape, or highlight a product’s texture. Effective retouching ensures that:
- Color palettes harmonize with brand identity.
- Lighting highlights form and depth.
- Unwanted distractions are removed, focusing attention on the subject.
- Textures and patterns are accentuated to convey tactile sensations.
- The final composition aligns with the intended narrative or mood.
The Foundation: Understanding the Image’s Anatomy
Before diving into the tools and techniques, a photographer must analyze the image’s fundamental elements: composition, exposure, color balance, and focal points. A clear understanding of these building blocks informs every subsequent decision in the retouching workflow.
“The best retouching starts with a solid capture; the digital brush can never replace a thoughtful shot.” – Anonymous Photographer
Core Image Retouching Techniques
Below are the essential techniques that every designer should master, grouped by the type of visual outcome they produce.
1. Color Correction & Grading
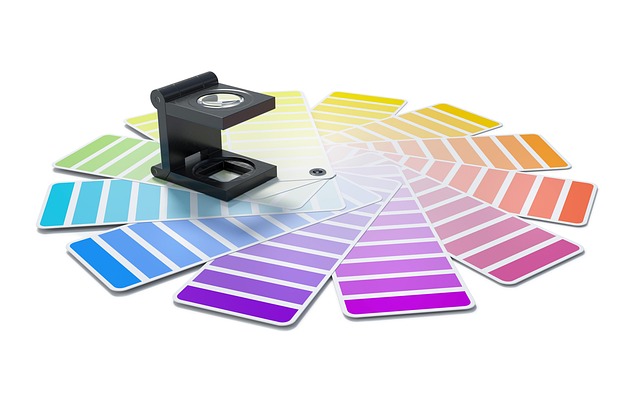
Color correction addresses inaccuracies introduced during shooting—white balance shifts, exposure errors, or sensor noise. Grading, on the other hand, applies a creative color mood that supports the narrative.
- Use curves or levels to balance shadows and highlights.
- Apply a color lookup table (LUT) to achieve a cinematic look.
- Fine‑tune hue, saturation, and luminance for specific skin tones or material colors.
2. Texture Enhancement & Clarity
Texture gives depth and realism. Whether it’s the roughness of a tree bark or the subtle sheen on a product, sharpening and clarity adjustments bring these details to life.
- Use selective sharpening to avoid halo artifacts.
- Apply clarity sliders to enhance mid‑tone contrast.
- Blend high‑frequency details with low‑frequency layers for natural skin rendering.
3. Noise Reduction & Cleaning
Digital noise can be a detriment, especially in low‑light or high‑ISO images. Cleaning removes dust spots, sensor speckles, and other distractions.
- Apply noise reduction selectively, preserving detail.
- Use spot healing or clone stamp tools for small blemishes.
- Perform a final check in the highest resolution to ensure no harsh edges remain.
4. Creative Manipulation & Artistic Effects
Artistic design often benefits from stylized effects—vintage film emulation, double exposure, or surreal compositing. These techniques require a blend of technical skill and creative vision.
- Experiment with blending modes to layer textures.
- Use gradient maps to craft mood‑setting color tones.
- Employ mask layers for precise control over where effects appear.
The Workflow: From Raw File to Final Masterpiece
A disciplined workflow ensures consistency, efficiency, and quality. The following steps outline a typical retouching process for artistic design projects.
- Import & Organize – Bring RAW files into a catalog and label them with project tags.
- Basic Corrections – Adjust exposure, white balance, and crop to improve composition.
- Color & Tone Adjustments – Perform global color corrections and create the initial mood.
- Detail Enhancement – Sharpen, apply clarity, and fix noise.
- Creative Layering – Add artistic effects, textures, or composite elements.
- Final Polish – Fine‑tune contrast, saturation, and clean any remaining artifacts.
- Export & Backup – Save in appropriate formats and archive original RAW files.
Tools That Empower Image Retouching
While the techniques are universal, the choice of software can accelerate the process and expand creative possibilities.
- Adobe Photoshop – Industry standard for pixel‑level editing.
- Adobe Lightroom – Ideal for global adjustments and RAW processing.
- Capture One Pro – Known for its color fidelity and tethered shooting.
- Affinity Photo – A cost‑effective alternative with robust features.
- Specialized plug‑ins – e.g., Nik Collection for creative filters, Topaz Labs for noise reduction.
Common Pitfalls and How to Avoid Them
Even seasoned designers stumble on the same mistakes. Being aware of these pitfalls keeps your work professional and polished.
- Over‑Sharpening – Excessive sharpness creates unnatural halos; keep adjustments subtle.
- Color Casts – Unchecked color casts can ruin skin tones; always calibrate with a white‑balance target.
- Inconsistent Lighting – Disparate light sources within a composition can break immersion; use gradient masks or vignetting to harmonize.
- Neglecting Workflow – Skipping steps such as noise reduction or detail enhancement leads to a rough final image.
- Ignoring the Audience – Artistic vision should align with brand guidelines and viewer expectations.
Advanced Techniques for the Experienced Retoucher
Once comfortable with the basics, designers can experiment with more sophisticated methods to elevate their work.
- Frequency Separation – Separates skin texture from tone, enabling precise retouching without losing detail.
- Layer Masking with Gradient Brushes – Creates smooth transitions between effects, ideal for blending background and foreground.
- HDR Merge & Tone Mapping – Combines multiple exposures to expand dynamic range, then maps tones for a striking visual impact.
- 3D Model Integration – Inserts realistic objects into a photograph, requiring lighting matching and depth mapping.
- AI‑Driven Retouching – Utilizes machine learning for auto‑masking, content-aware fill, and smart object placement.
Case Study: A Surreal Product Campaign
In a recent project, a designer re‑imagined a luxury watch using image retouching to emphasize its sleek metal finish and timeless elegance. The workflow involved:
- High‑resolution RAW capture with controlled lighting.
- Color grading to a cool, metallic palette.
- Frequency separation to smooth skin without sacrificing the watch’s texture.
- Layered vignette to draw focus toward the watch face.
- Creative compositing of subtle light reflections, enhancing depth.
- Final export in both web‑optimized JPEG and print‑ready TIFF.
The result was a striking image that conveyed luxury while maintaining visual authenticity, ultimately increasing engagement across social media platforms.
Conclusion: Crafting Visual Stories Through Image Retouching
Image retouching is the bridge between a captured moment and an evocative artistic statement. By mastering color correction, texture enhancement, noise reduction, and creative manipulation, designers can sculpt images that resonate with audiences, amplify brand messages, and push creative boundaries. A disciplined workflow, combined with the right tools and an eye for detail, ensures that every photograph becomes a polished masterpiece. Whether you’re a novice learning the ropes or a seasoned professional seeking new techniques, continual practice and experimentation will keep your retouching skills sharp and your artistic vision fresh.


